Initial Setup
- Press the green button next to the TireMinder logo. This turns the gauge on.
- Pressing the button again wen the gauge is on will cycle through PSI, Bar, and kPa. Select the unit of measurement you would like to use to display your tire pressure.
- Push the gauge's head onto the valve stem to compress the valve core, which will release air into the gauge.
- Once a reading has appeared on the gauge, remove the gauge's head from the valve stem.
Changing the Batteries
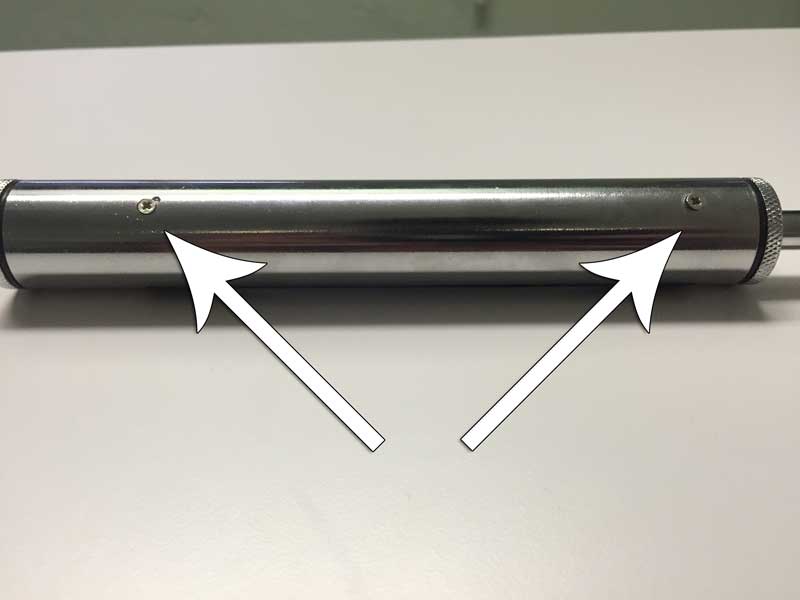
Remove the two screws on the rear of the TMG-Dual-2.
Remove the head and head holder.
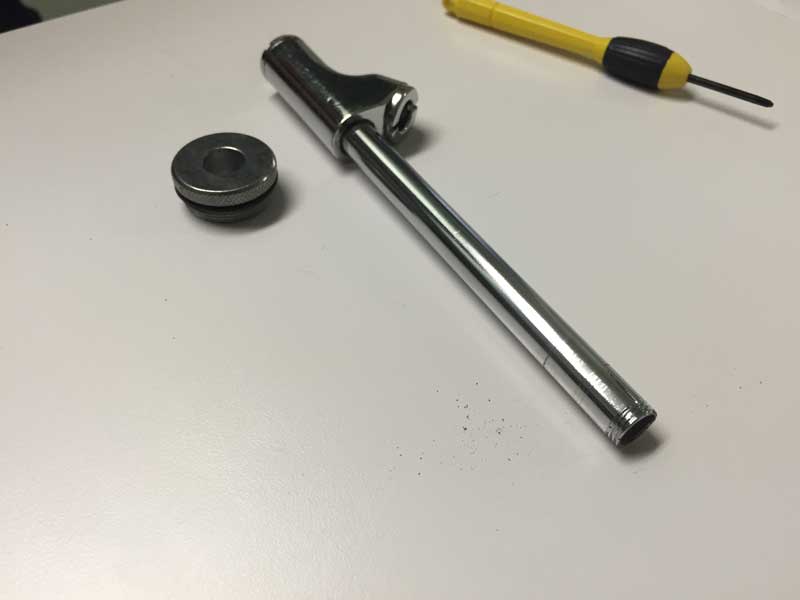
Remove the display base from the gauge.
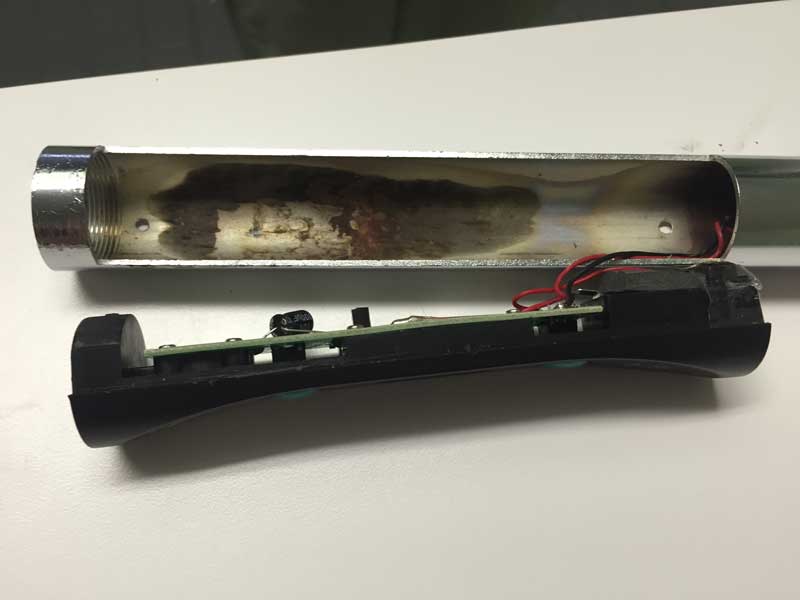
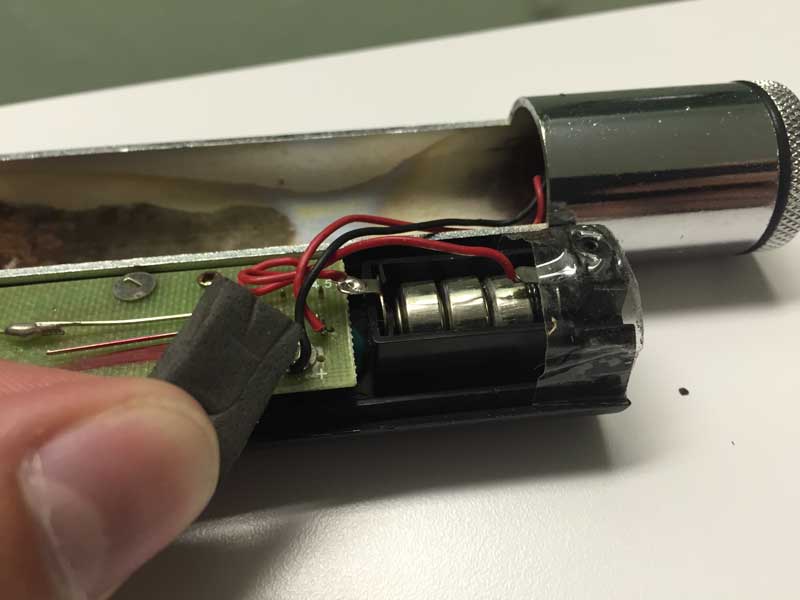
Replace batteries located under foam material. Replace foam if needed.
How Do I Change the Heads?
- Grip the shaft and dual head firmly.
- Rotate counter-clockwise until loose.
- Insert replacement dual head and rotate clockwise until firm. Be careful not to overtighten.
What Kind of Batteries Does the TMG-Dual-2 Use?
The TMG-Dual-2 uses 3 LR44 batteries, available wherever button batteries are sold.
Was this article helpful?
That’s Great!
Thank you for your feedback
Sorry! We couldn't be helpful
Thank you for your feedback
Feedback sent
We appreciate your effort and will try to fix the article